From concept to finished product, let me walk you through our process. There are several methods for producing graphic tees, I’ll tackle that in another post. But at Liberty Tree Designs the majority of our orders follow this general process:
- Design the image/text with graphics software
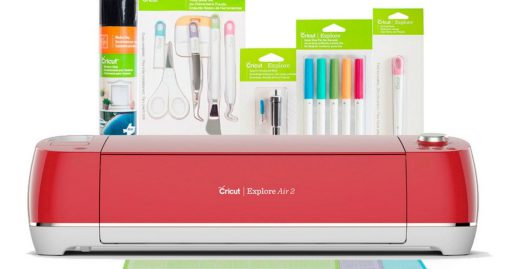
- Cut the design from vinyl using a Cricut
- Apply the vinyl with a heat press

Design
OK, here is the fun part. There are several programs that you can use to create your design. The simplest method is through the cut machine’s software, which in our case is DesignSpace for use with a Cricut. DesignSpace is essentially a drag and drop editor. Alternatively, you can leverage the power of design software like Photoshop, Gimp or Inkscape to create a completely customizable Scalable Vector Graphic (SVG). The ins and outs of graphic design is way outside the scope of this post. So skipping ahead, the result of your design imported into Cricut DesignSpace is a set of cuts, or layers, that will be used to instruct your machine how to cut out the vinyl.
Cut
Moving on to the cut… At this stage we take a sheet of special heat transfer vinyl, apply it to a sticky mat which we then feed into the Cricut cutter. Almost like a printer, the mat and vinyl is fed into the machine, but instead of printing the design, a small, VERY SHARP blade is passed over the vinyl cutting the shapes and text. There’s not too much to dive into with the cut process. The machine itself can cut all sorts of material, including vinyl, leather, and card stock and by replacing the blade with other tools it can etch. I still catch myself staring at the machine while it does its thing. It cuts with such precision and speed it truly is mesmerizing. Once the machine is done cutting you can peel the unneeded vinyl off the sheet. This process is called weeding. You are then left with the layer you plan to your apply to your shirt.
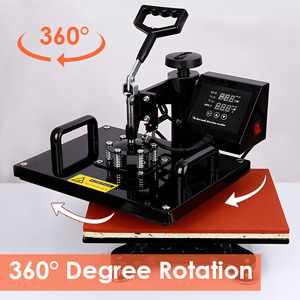
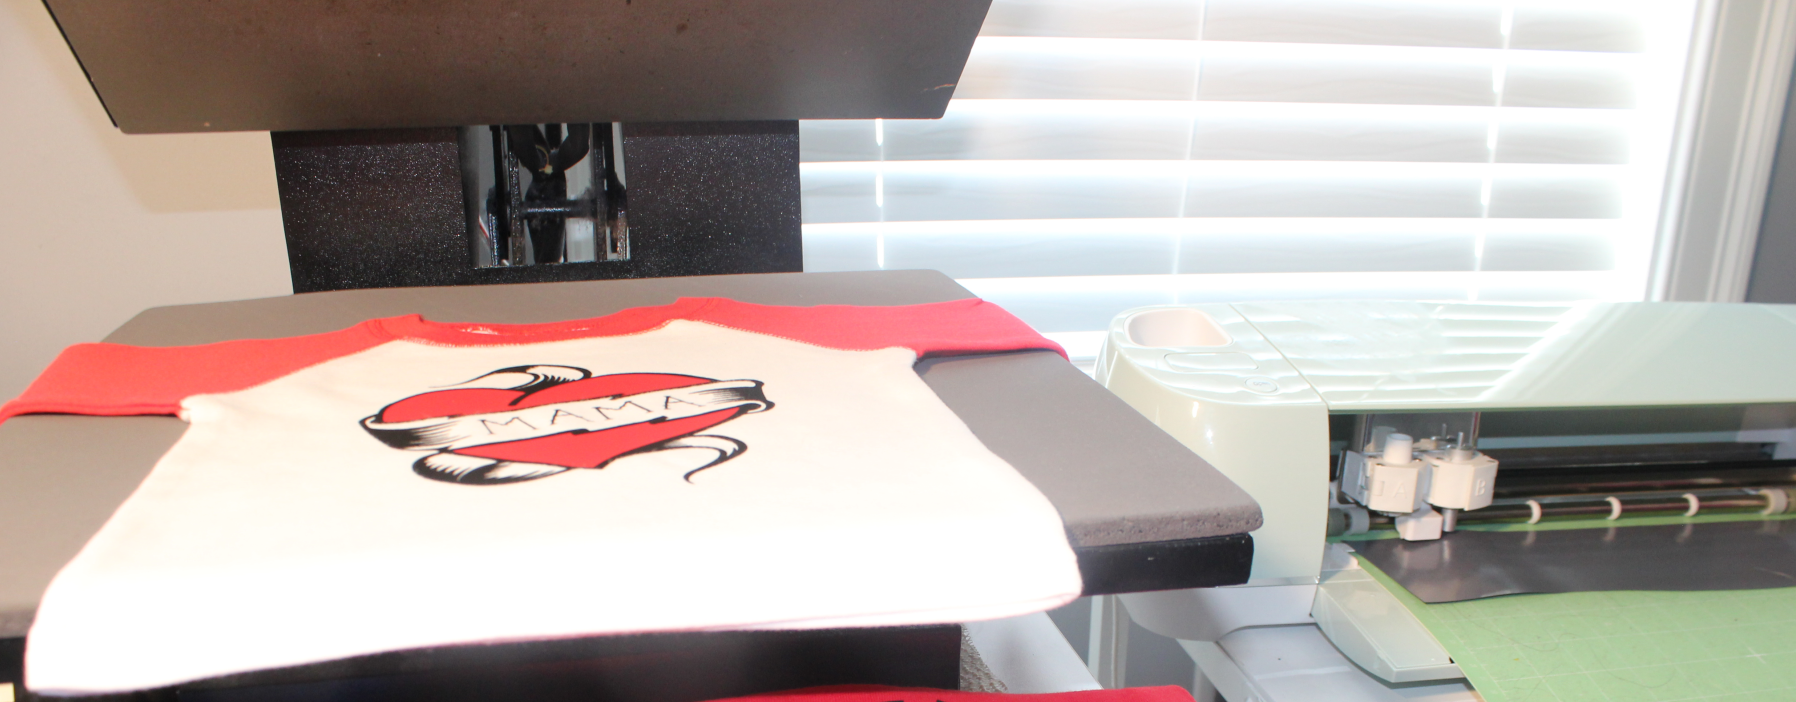
Press
Creating the design is the artistic side of the operation. Applying the 1 or more layers of vinyl to a shirt is a skill, one that does take some time to perfect. You can use an iron or even a hair straightener in some cases to press the vinyl to the shirt, but the optimal tool is a heat press. With a heat press, you can set the exact temperature and provide uniform pressure across a larger area. We place the shirt on the heat press base, place the vinyl exactly where it’s needed, cover it with a teflon sheet (to reduce the chance of burning the shirt or vinyl), and then lower the ~350 degree hot plate for ~15 seconds, which will cause the vinyl to adhere to the fabric. Various shirt materials or thickness, number of layers (colors), even vinyl brand are used to determine the appropriate temperature and press duration. Too hot or too long, then we could burn our shirt. Too cold or not being pressed long enough, then we run the risk of the vinyl peeling off leaving an unhappy customer. Let’s say there was a bit of trial and error in the early days. The end product is a beautiful custom shirt that looks professional and holds up over time.
I hope this helps give you a sense of the process and work that goes into each product. Every now and then I hear people say “You’re just putting stickers on a shirt”. Well anything can be simplified to that level of absurdity. Here’s a fun one for you. Leave a comment and tell us what you do for a living in its most simplest terms.